Type in Motion: Kinetic Type
Assignment
Type in motion! Your task is to animate a quote from a speech, poem, movie, TV show or comedy skit that is at least 40 seconds long in Adobe After Effects.
The Search
When considering what clip I wanted to use, my brain first went to music. I played with the idea of doing something for my friend’s band LustOnline using their song RYB. I could already picture doing something fun with red, yellow, and blue for the graphics. But once I tried to find a 40-second clip, there just wasn’t enough lyrical content to work with for this project.
I also played with the idea of using a Rupi Kaur poem and combining her illustrations with lines of poetry. I think that could be really beautiful, but considering I’m not the best illustrator and that I’d never used After Effects before I decided to save that idea for someone more advanced.
Honestly, none of my initial ideas felt quite right. After sketching and reviewing previous students’ clips in class, I realized an actual spoken quote might be the way to go.
Why Anthony Bourdain?
I read Kitchen Confidential probably within a year or two of it being published, mostly because I was really into autobiographies in my early 20s. That book completely changed my view of the world. It made me think a lot about the time I spent in Europe and how living in Italy for a few years shaped my worldview, not just around food, but everything.
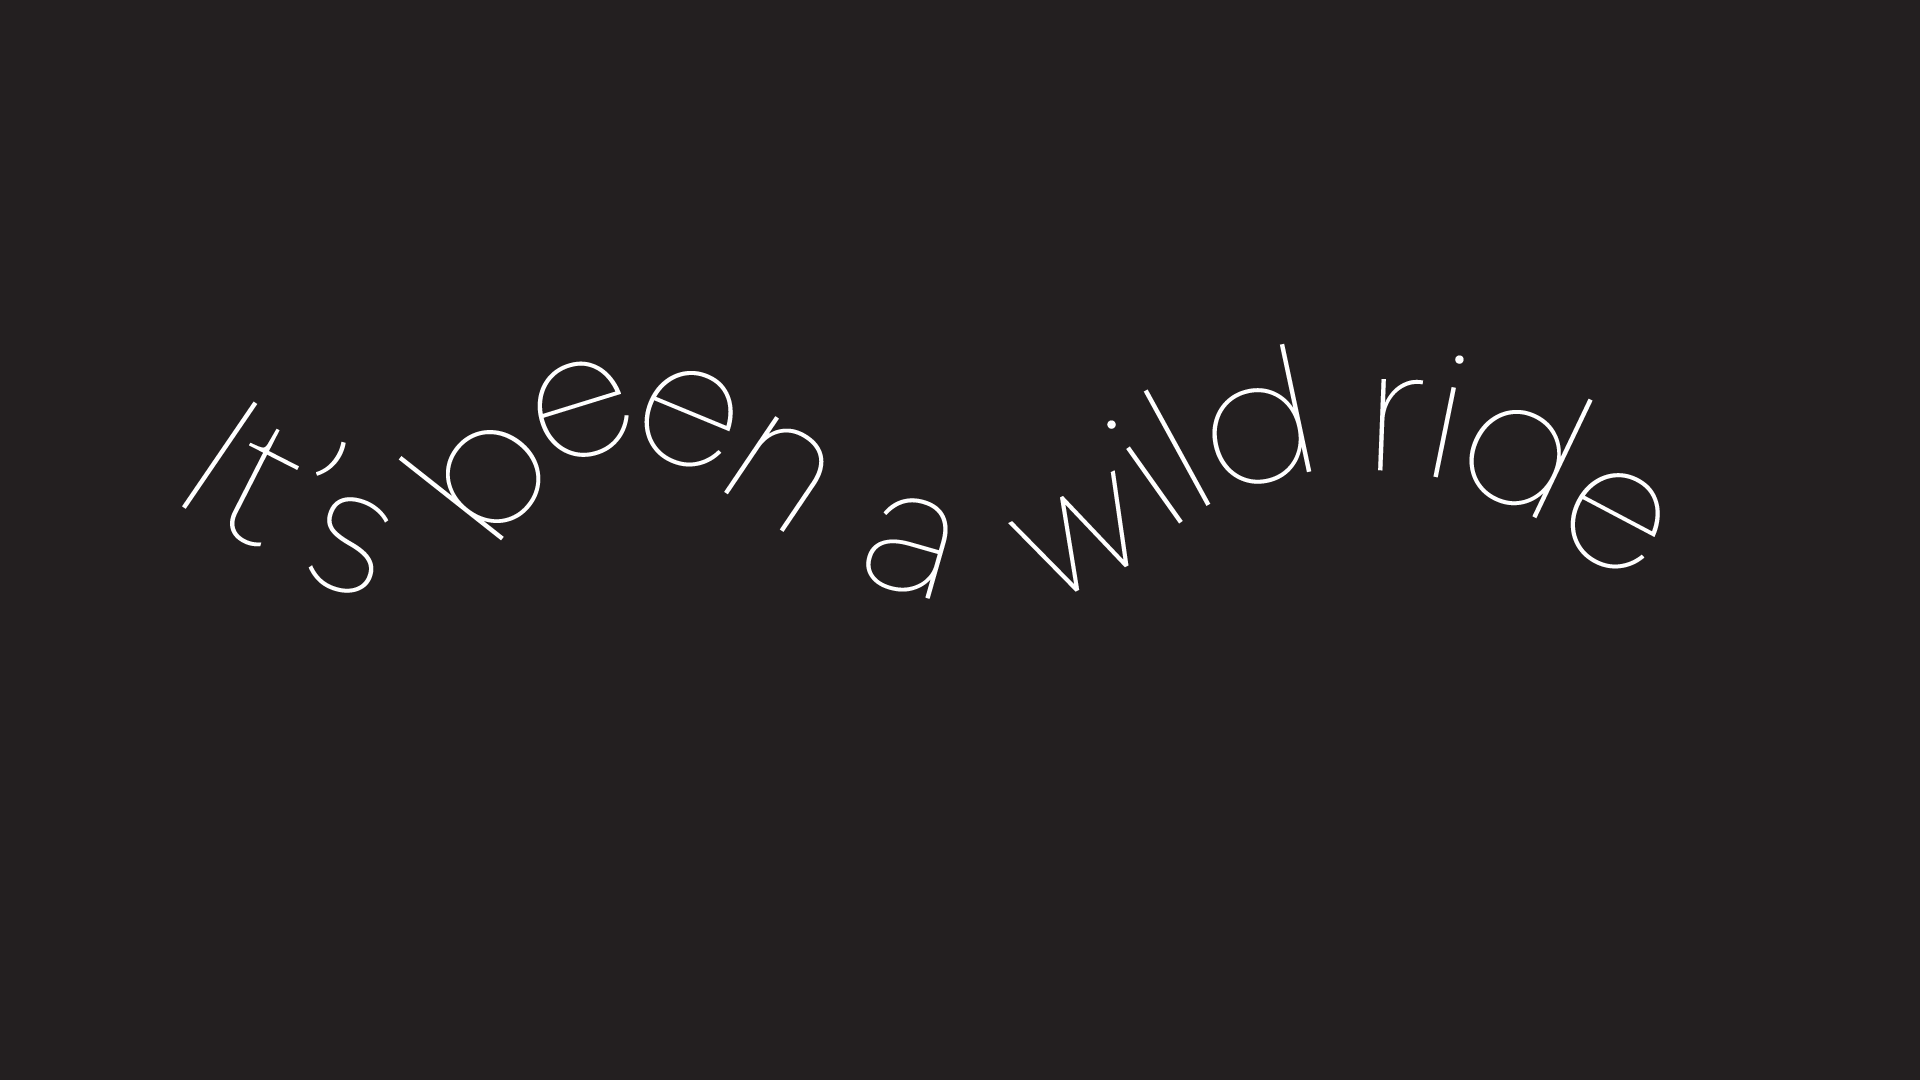
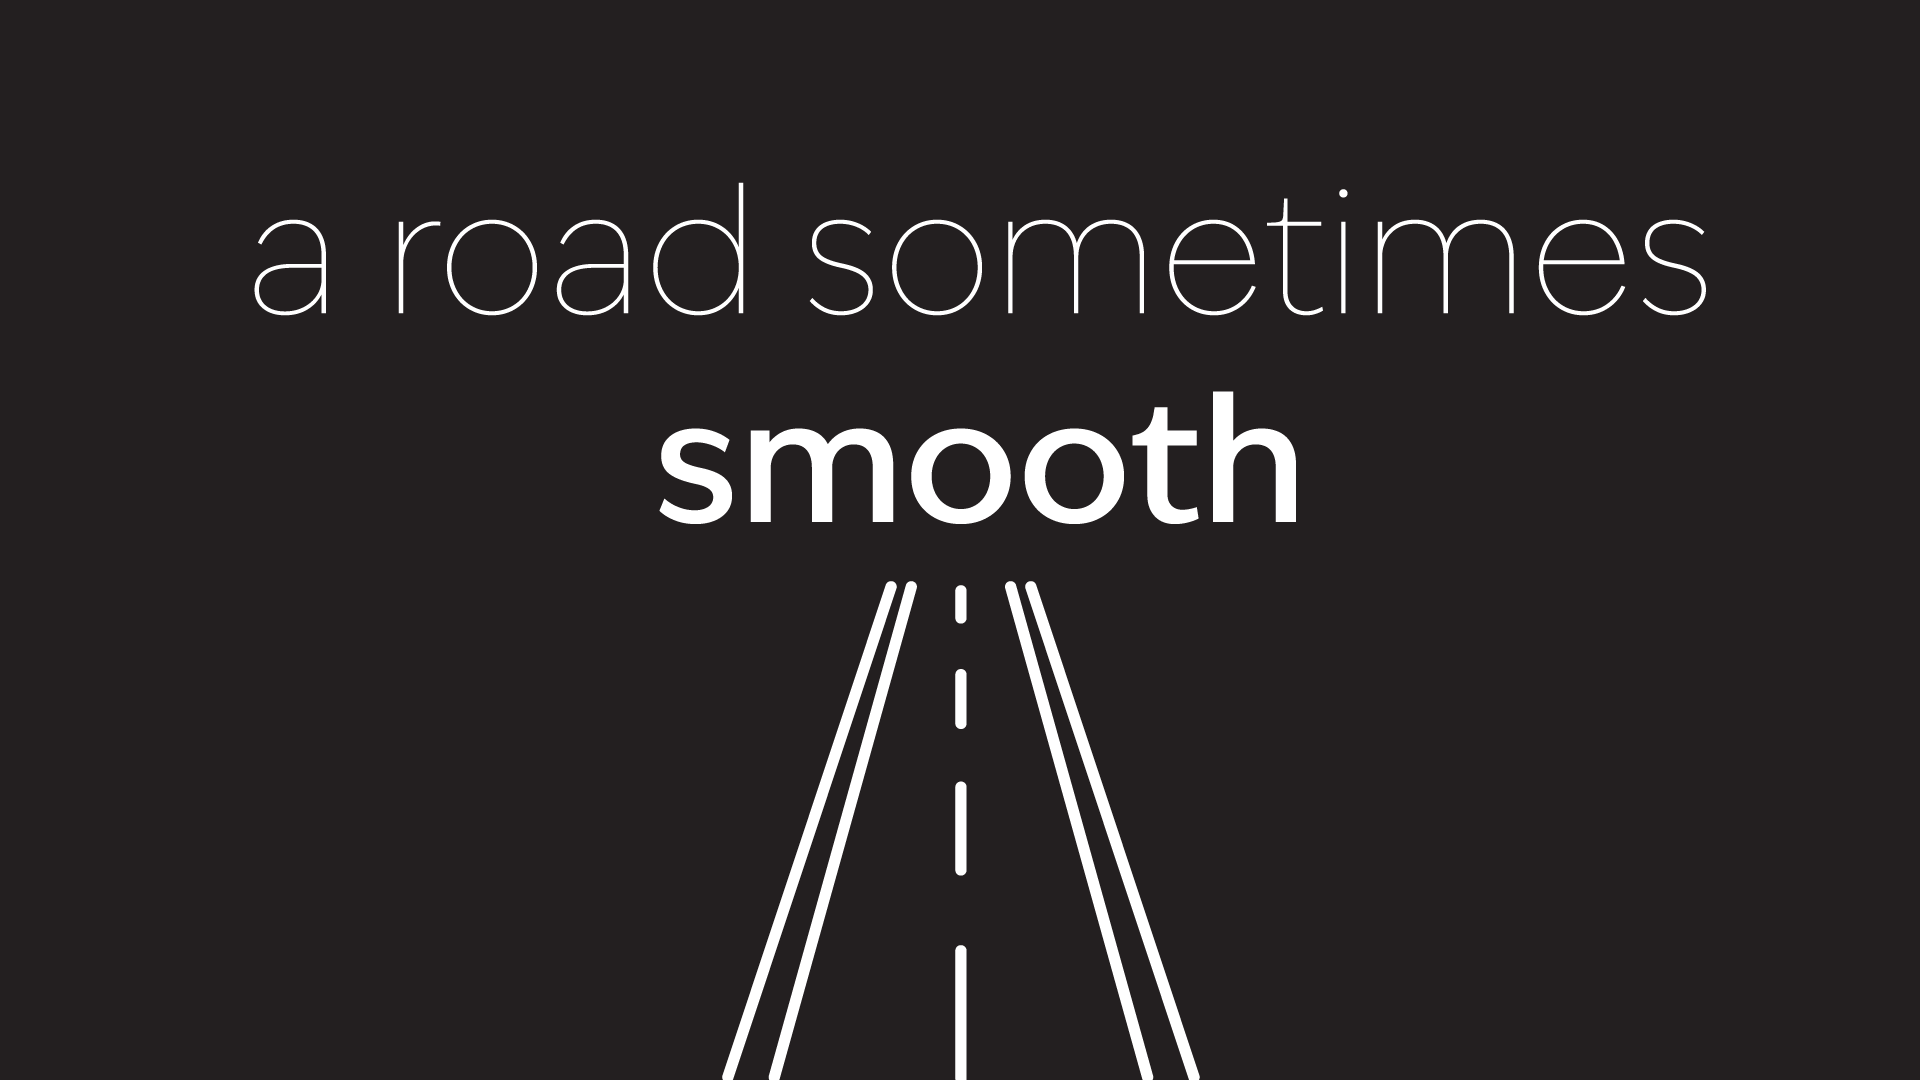
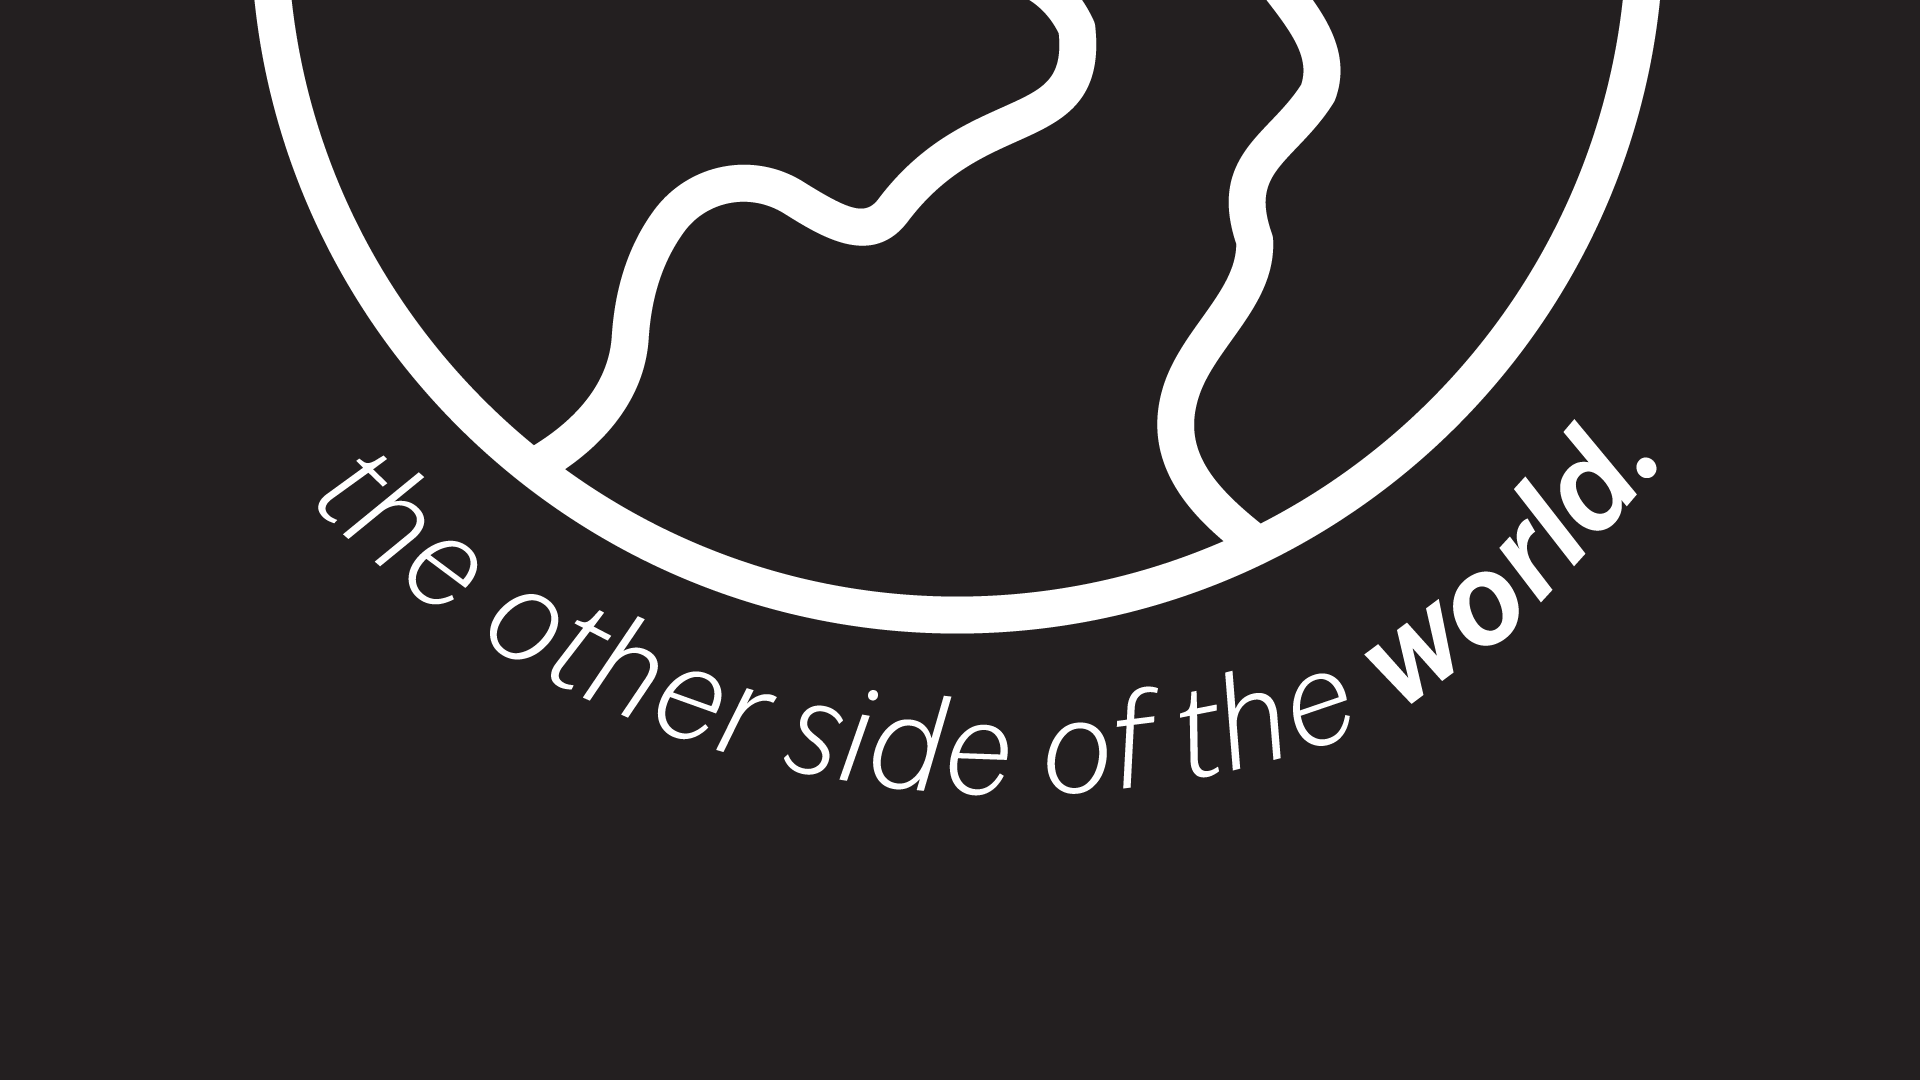
So I searched for Anthony Bourdain quotes, and one of the first things that came up was this 50-second clip, which is one of the closing speeches from Parts Unknown. It summarizes so well what I love about Tony and why I still respect the advice and perspective he was trying to share with the world.
Over winter break, I went to the Harry Ransom Center to read archives from McSweeney’s and Lucky Peach, and I read an interview with him and was really struck by how positive and generous his worldview actually has always been especially when you consider he was often sitting around a table with cynical chefs like David Chang and Wylie Dufresne. People forget that part of Tony’s persona was how clearly he wasn’t as tough and cynical as he might seem, he was kind of a softie, well… mostly.
Brainstorming Concepts
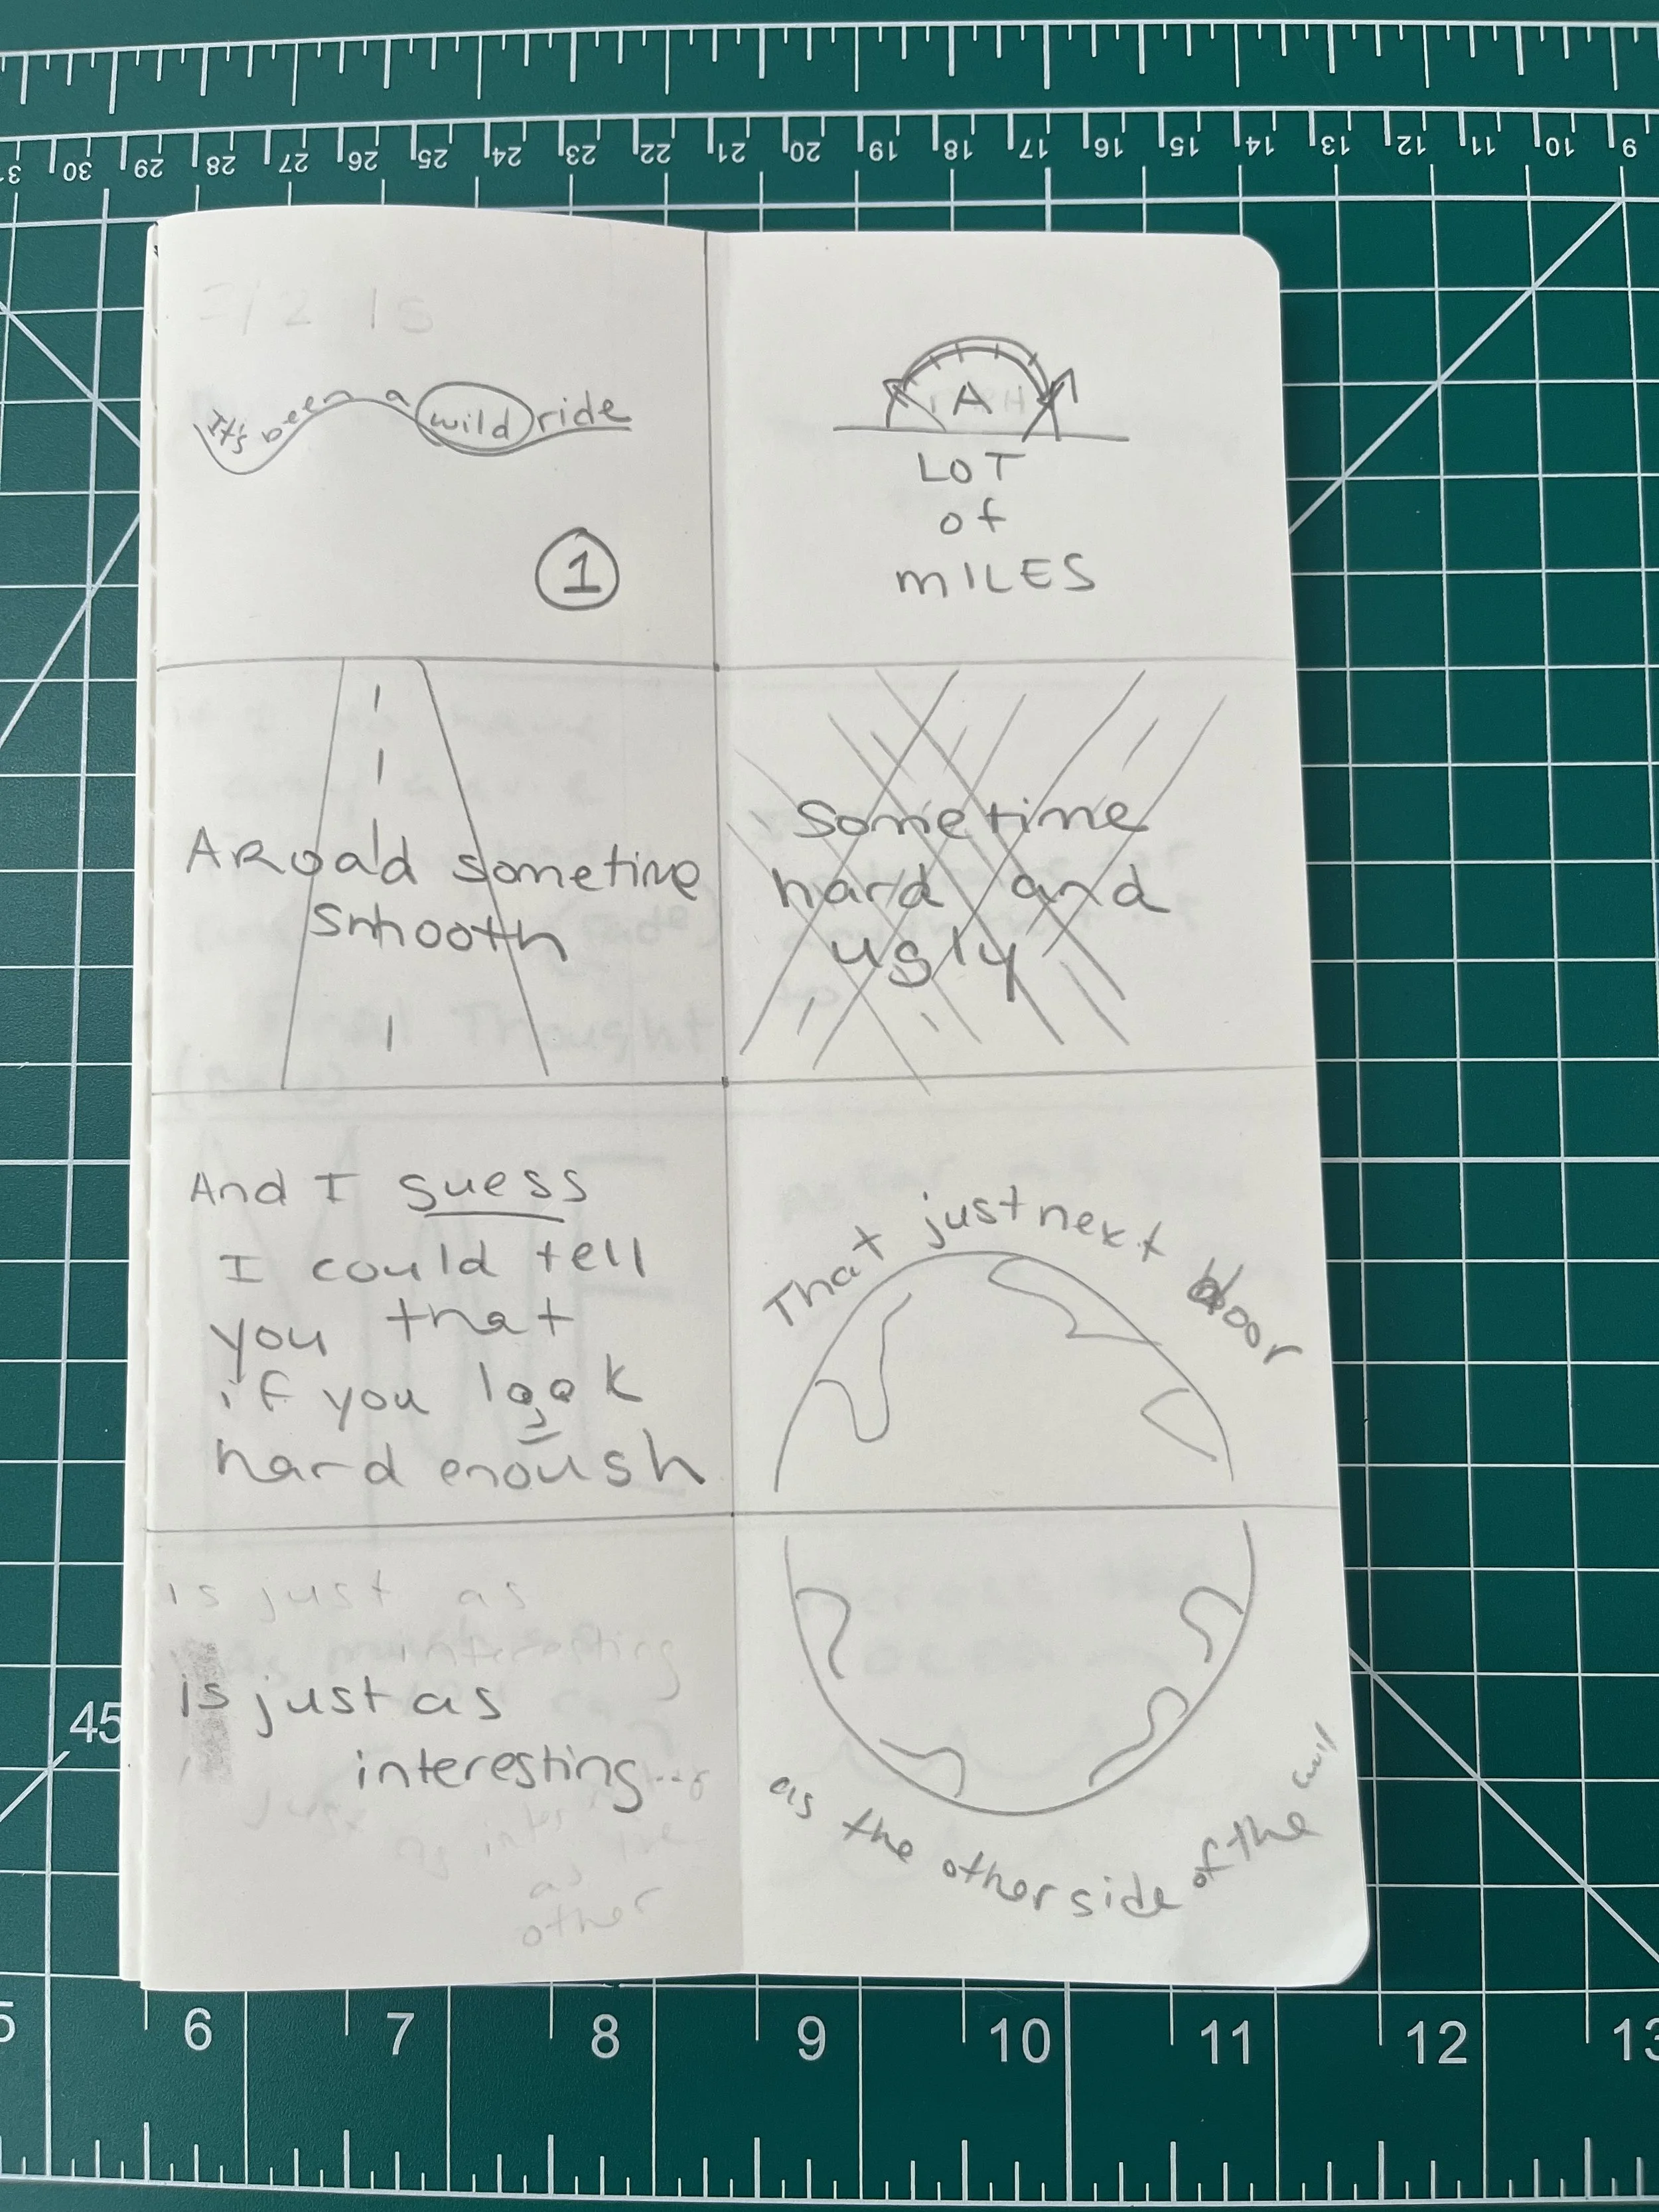
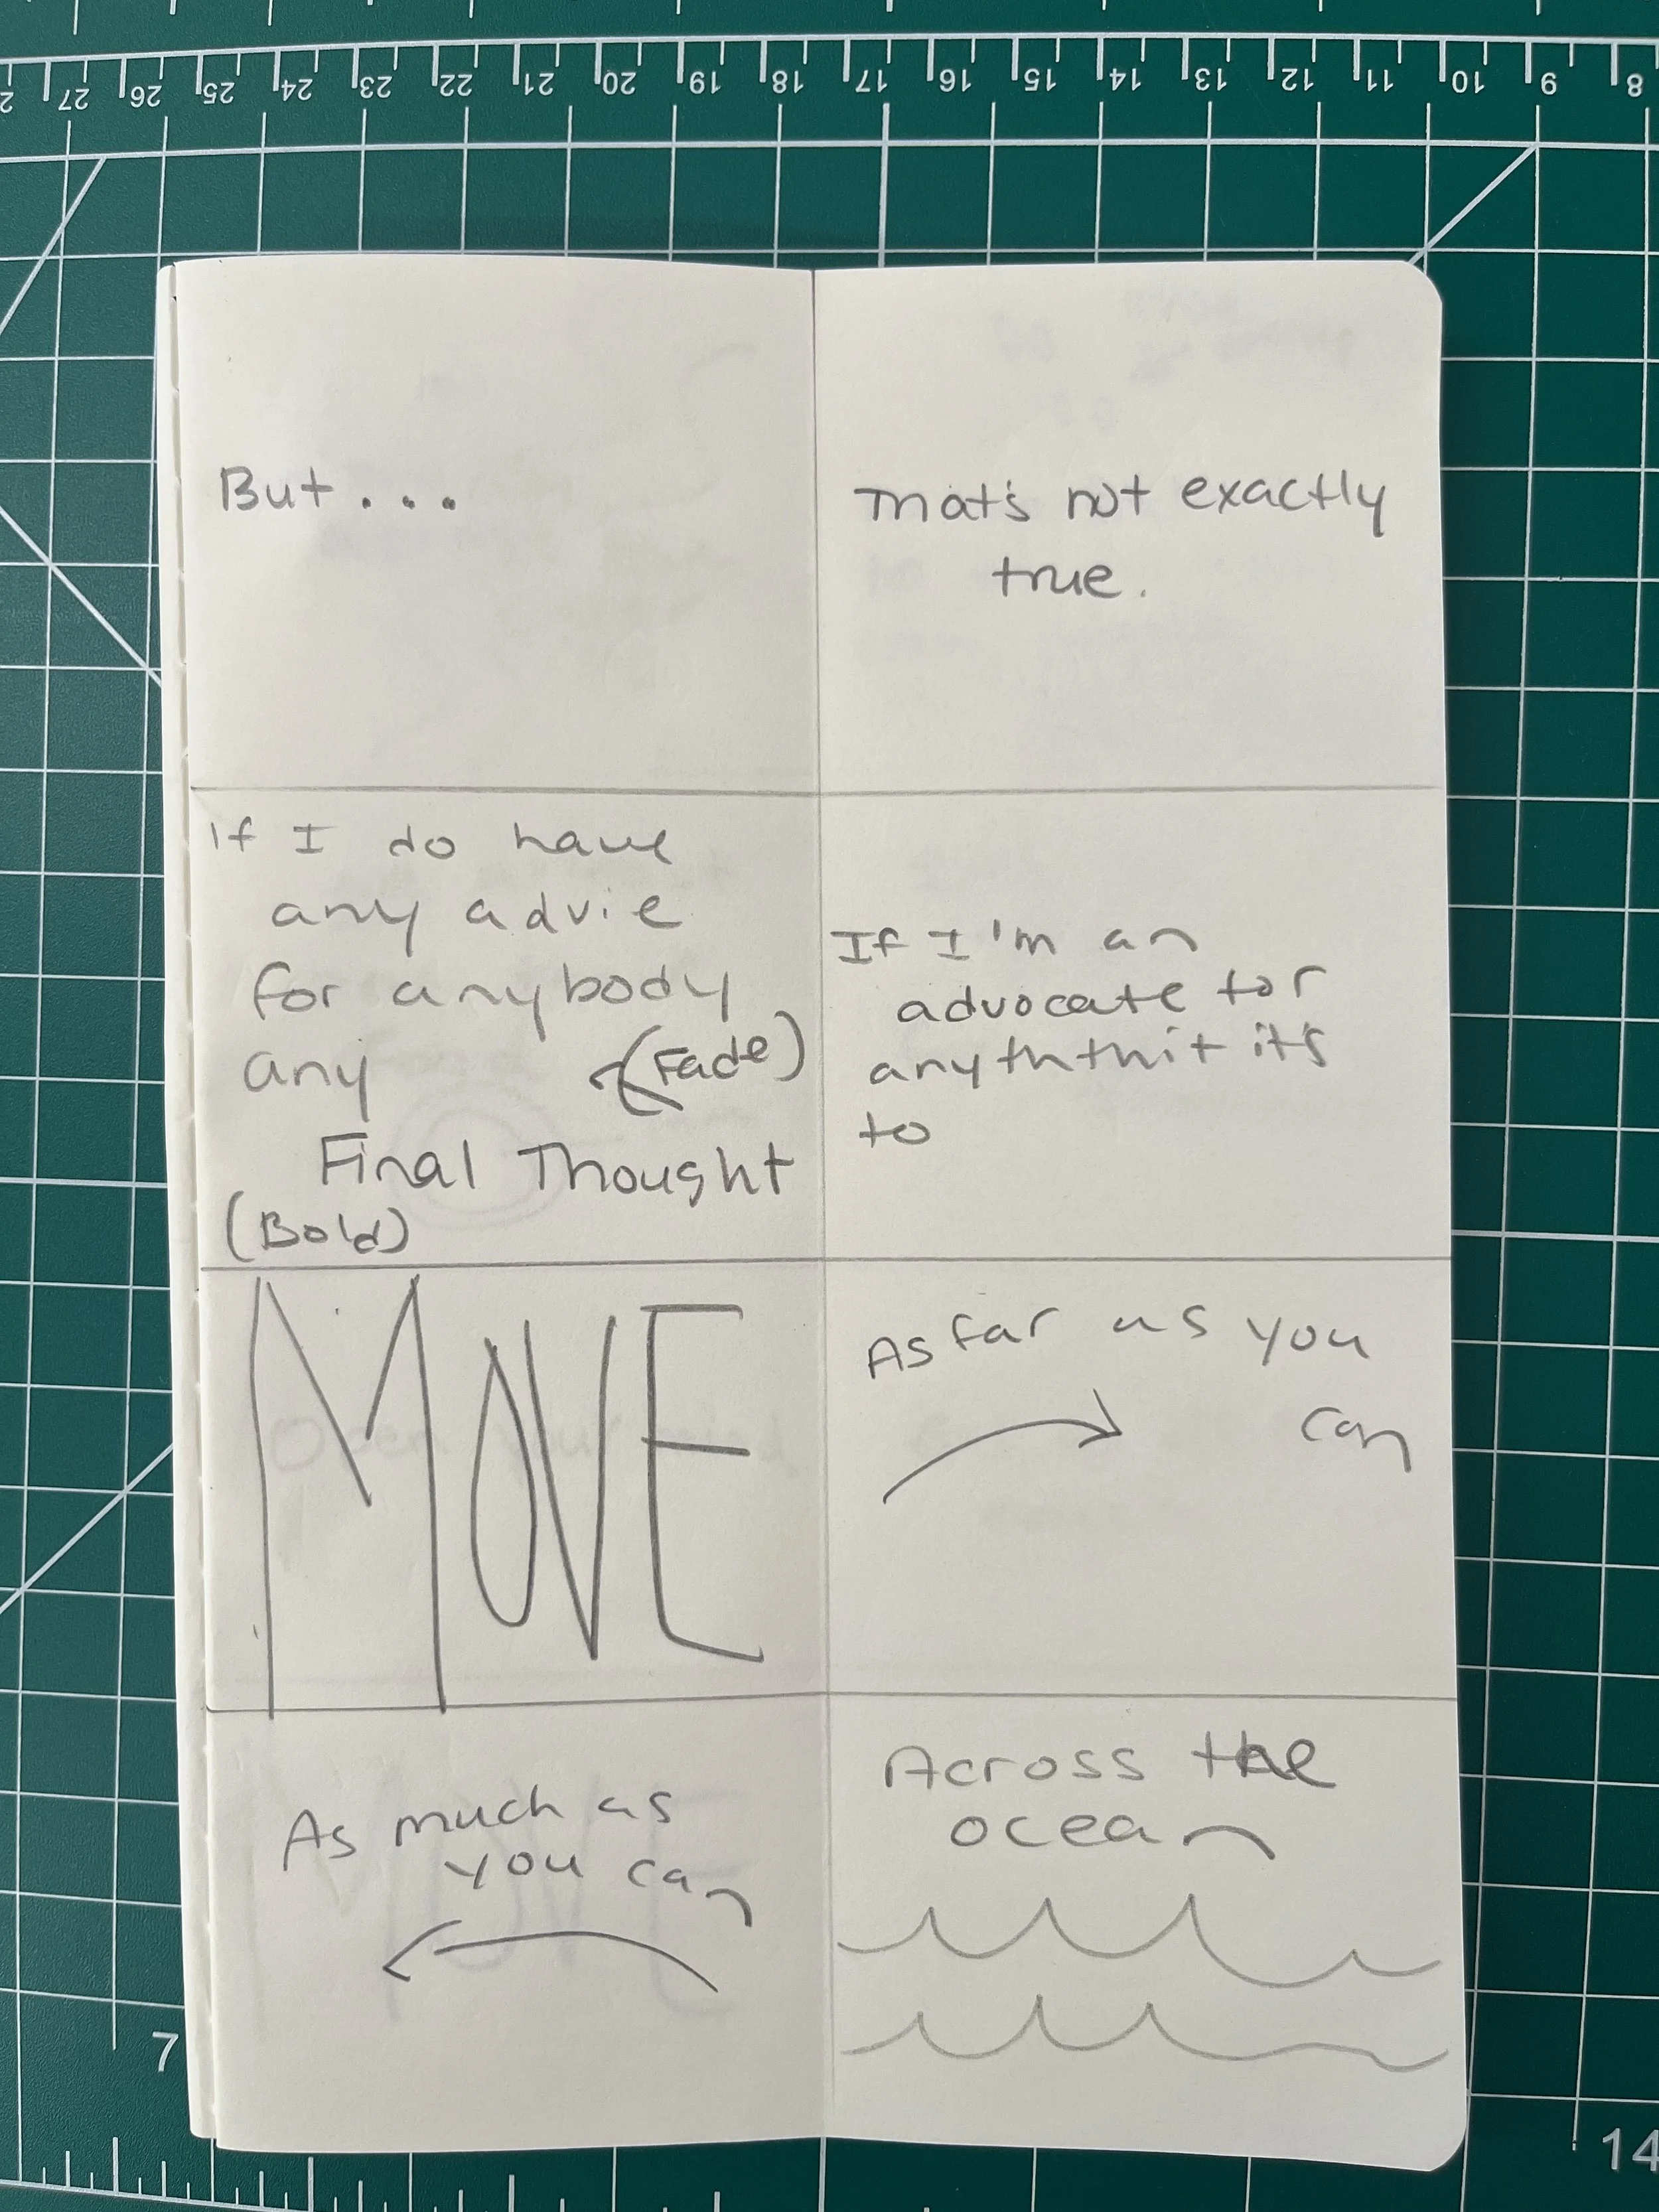
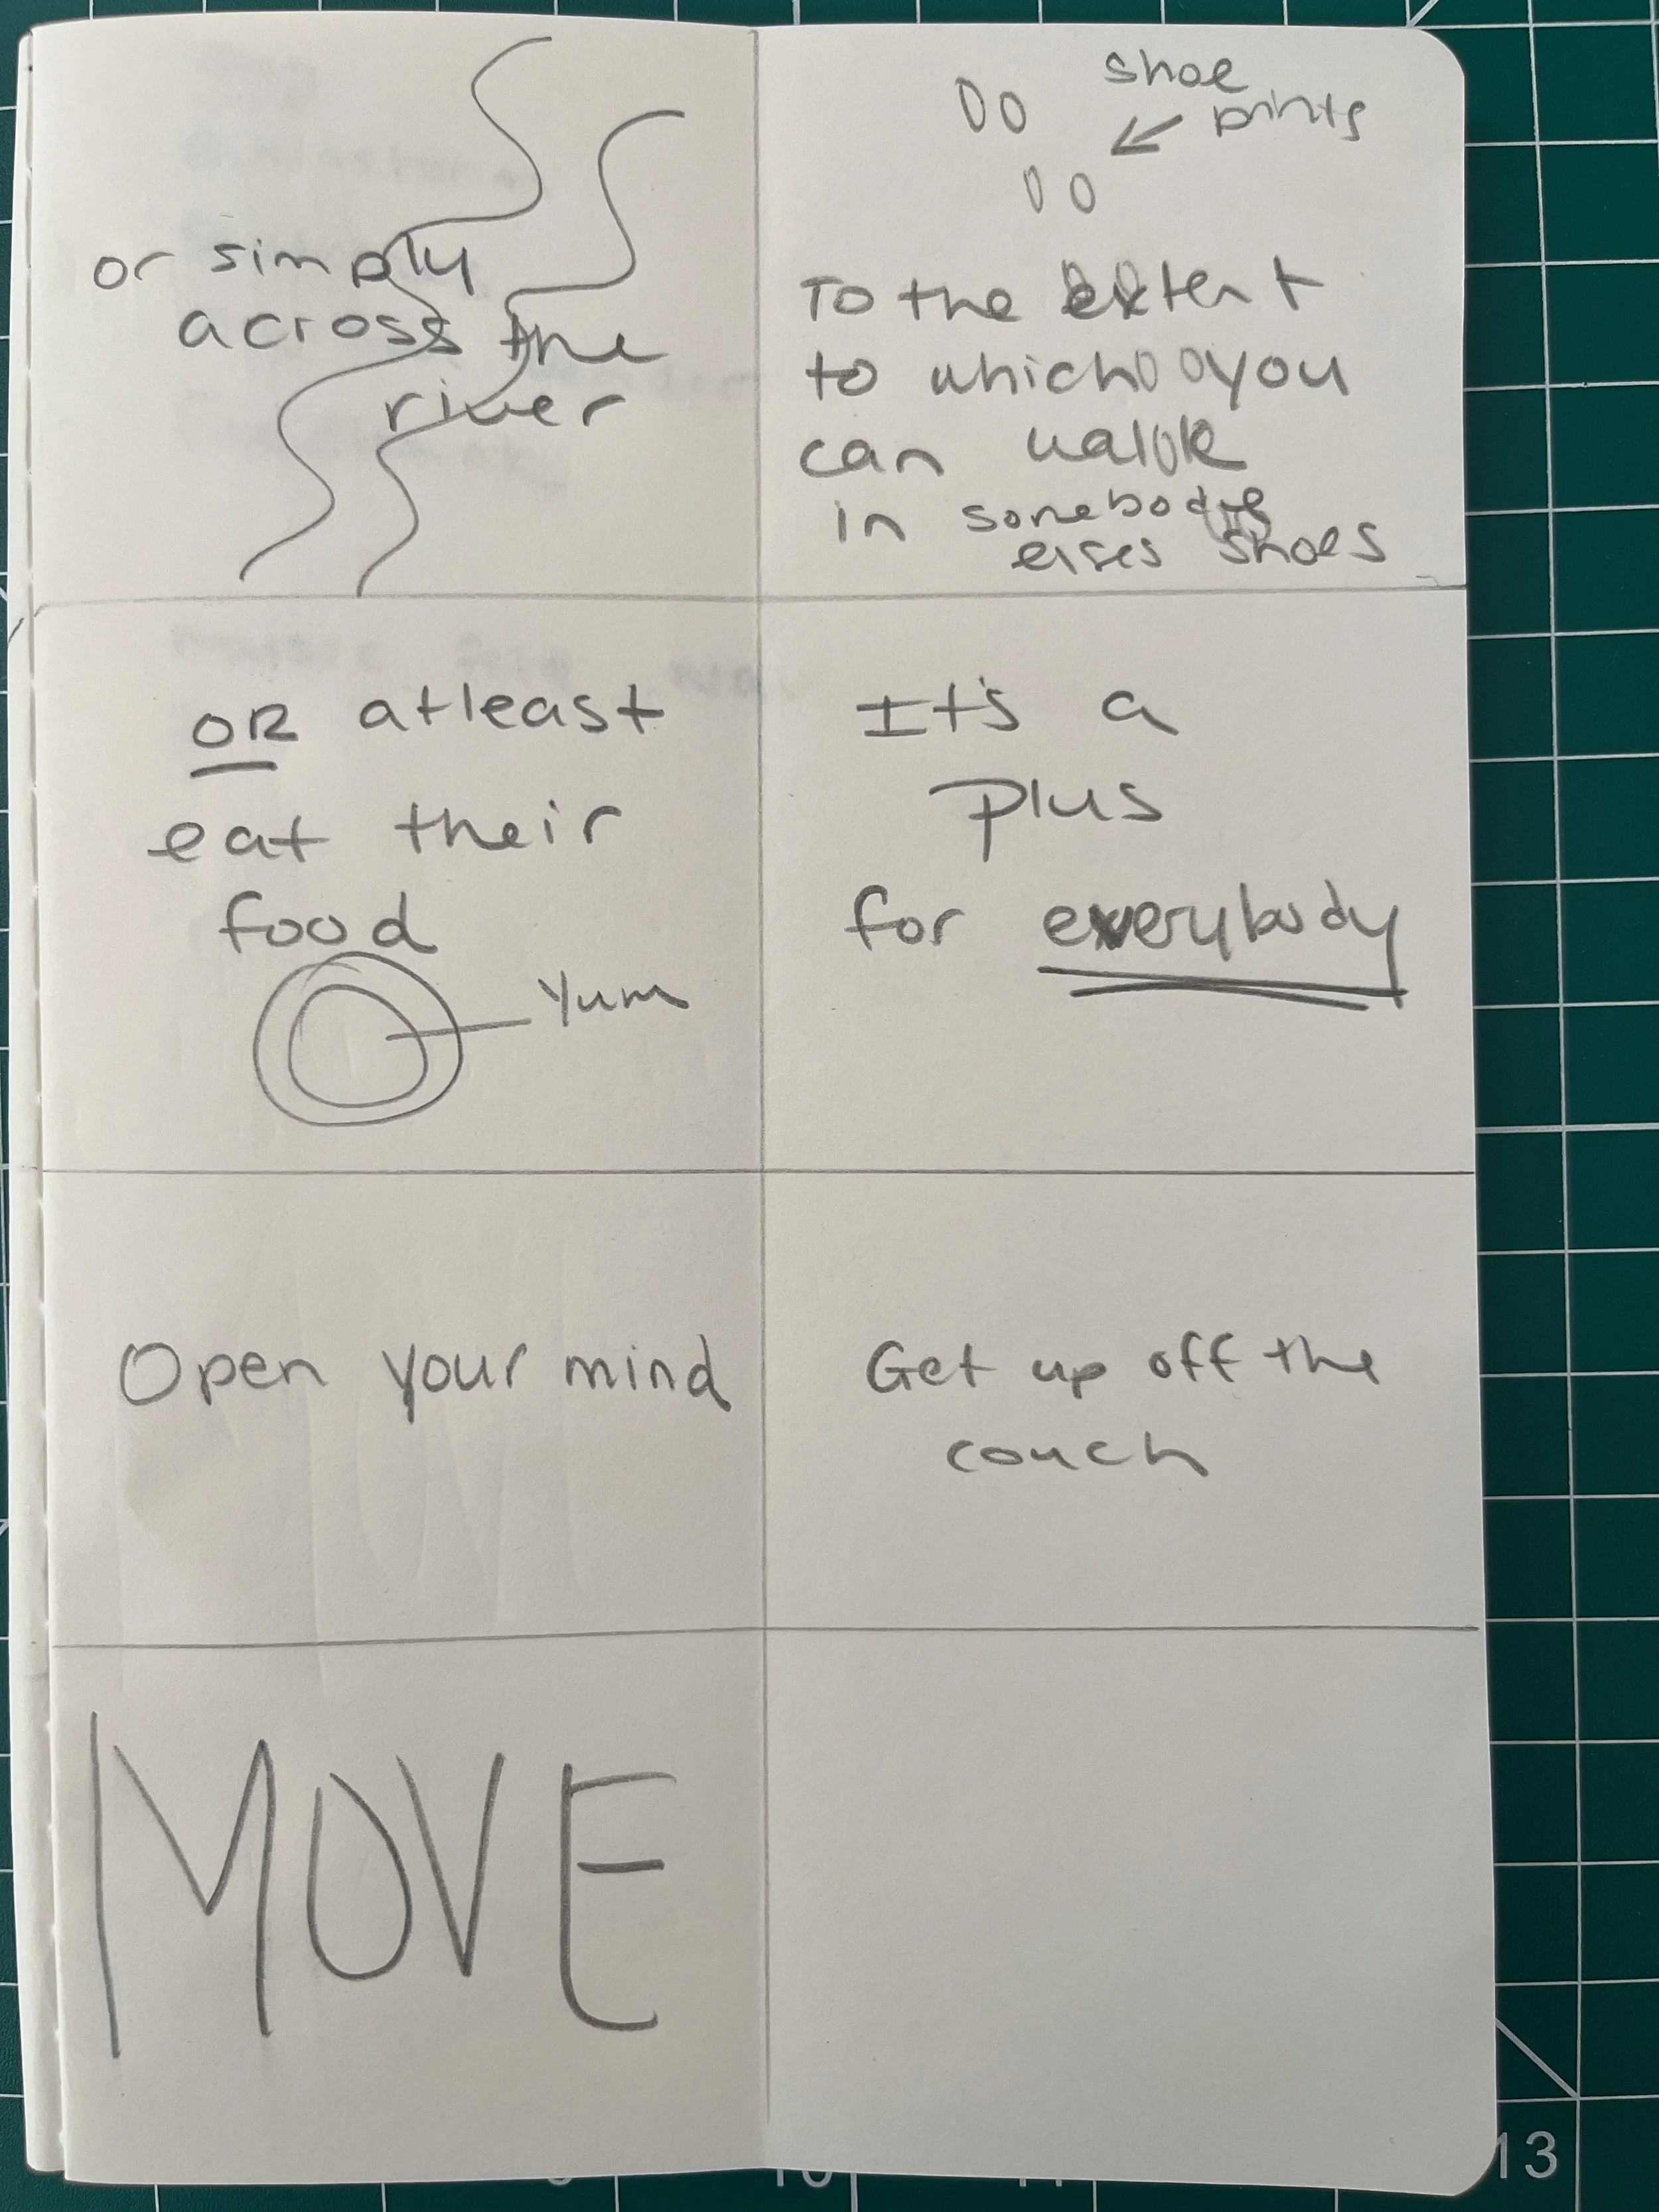
After watching the clip a few dozen times, I started storyboarding ideas in my sketchbook.
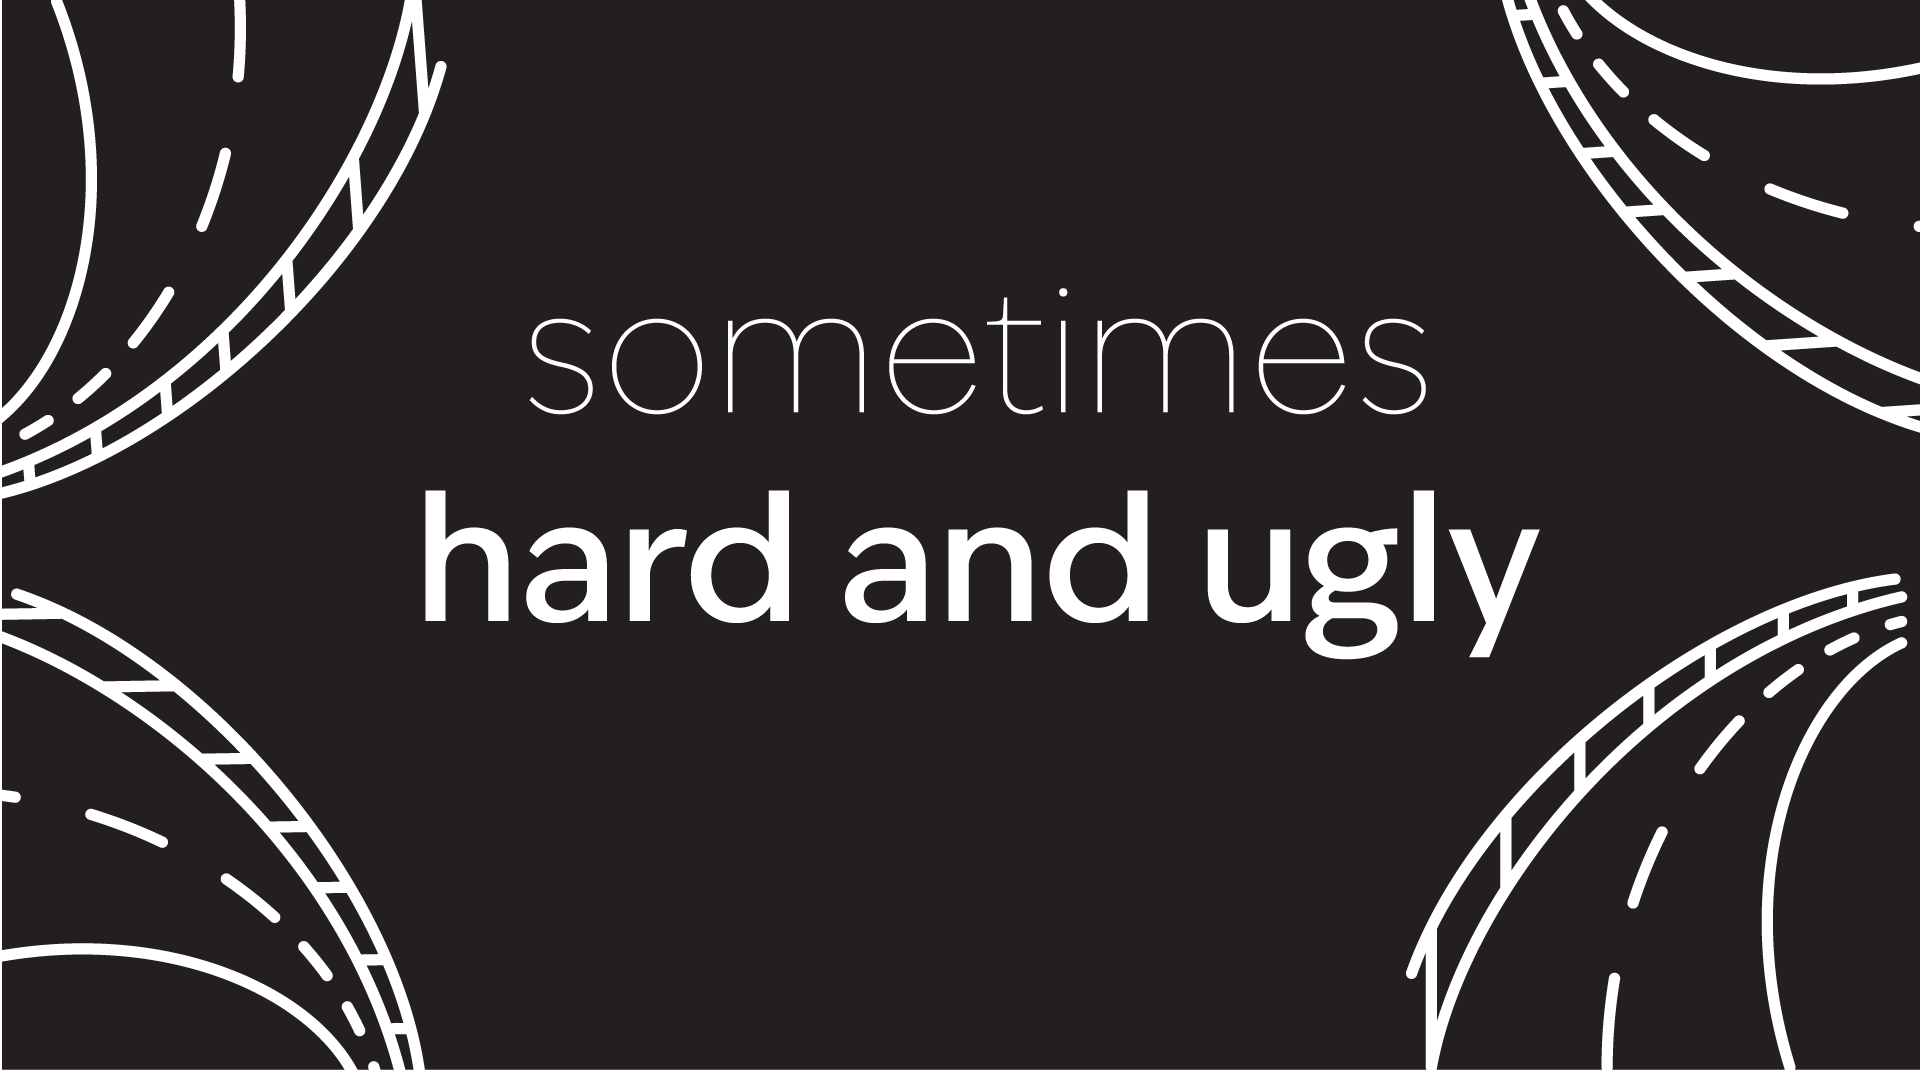
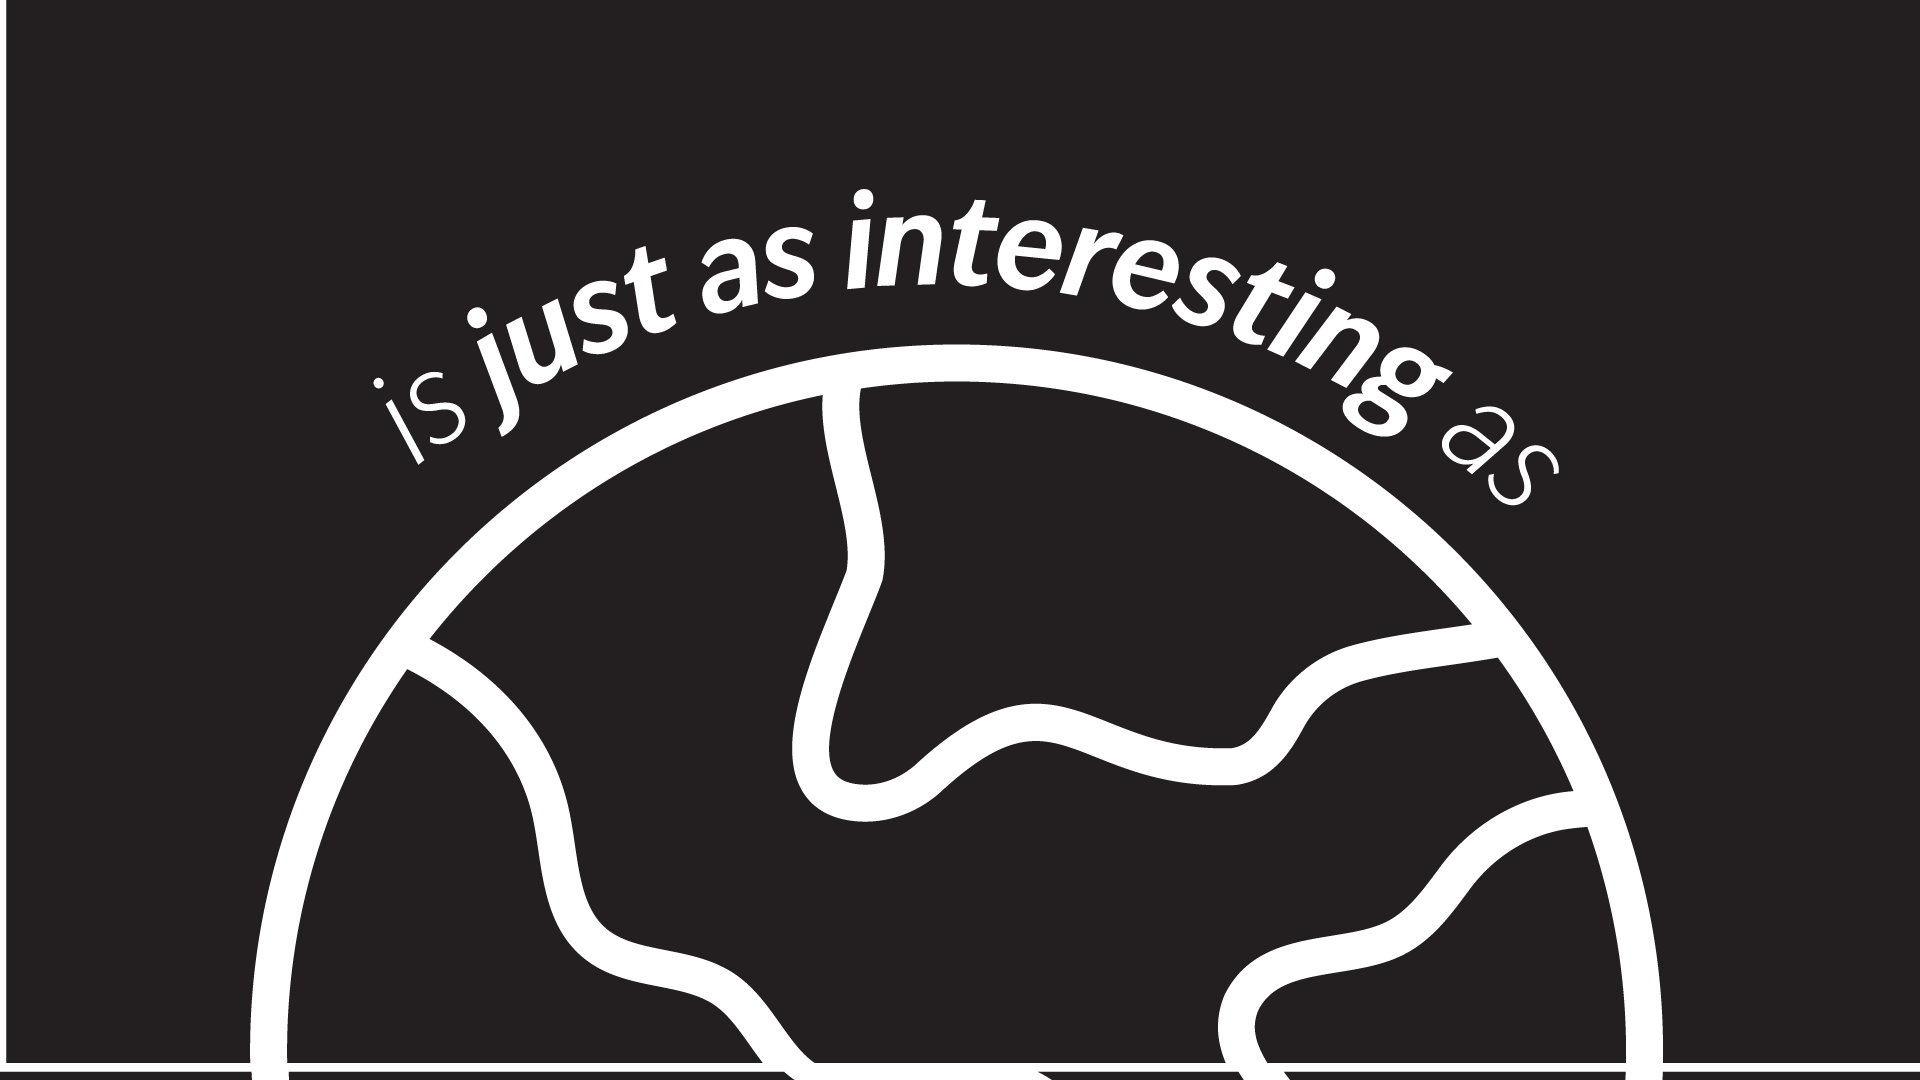
In my initial sketches, I focused on which words I wanted to emphasize in each frame and simple ways to help them stand out. I decided to add small icon graphics for certain words, like roads, world, and food, to help them pop visually.
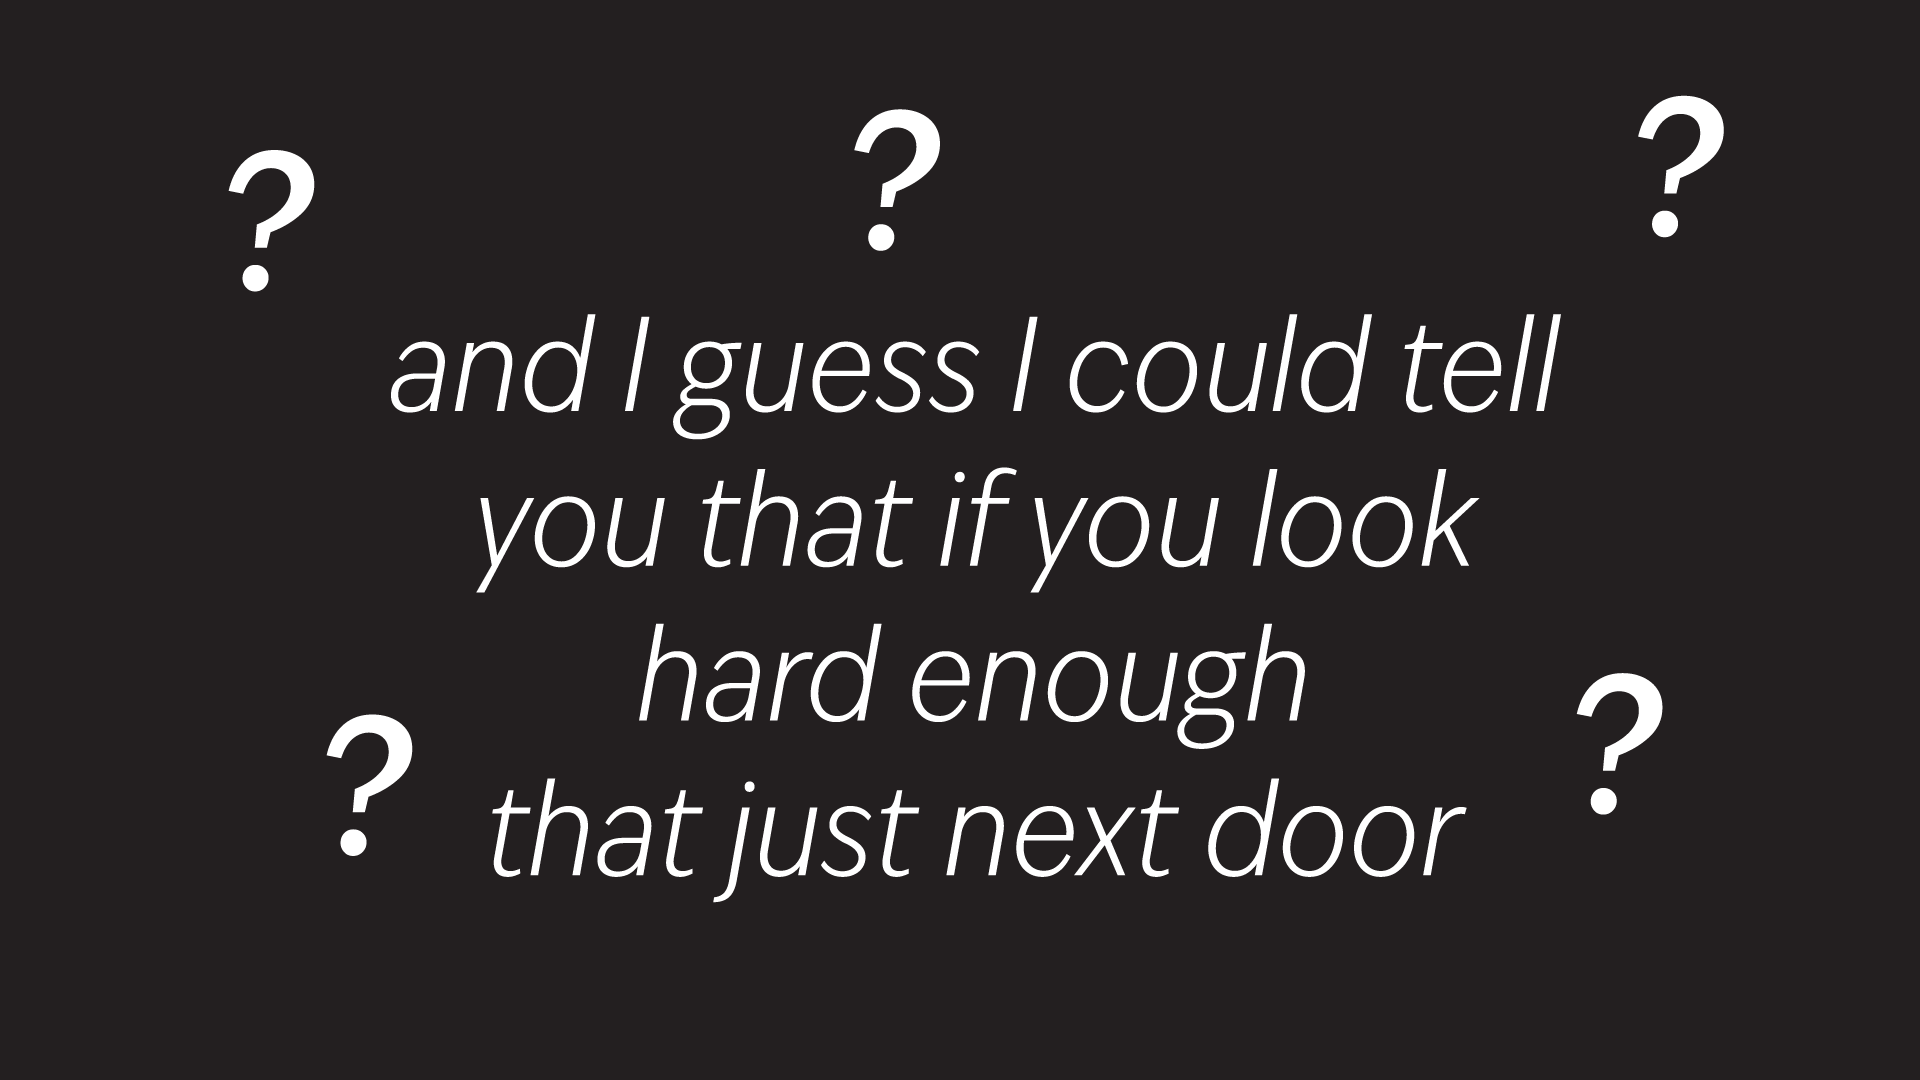
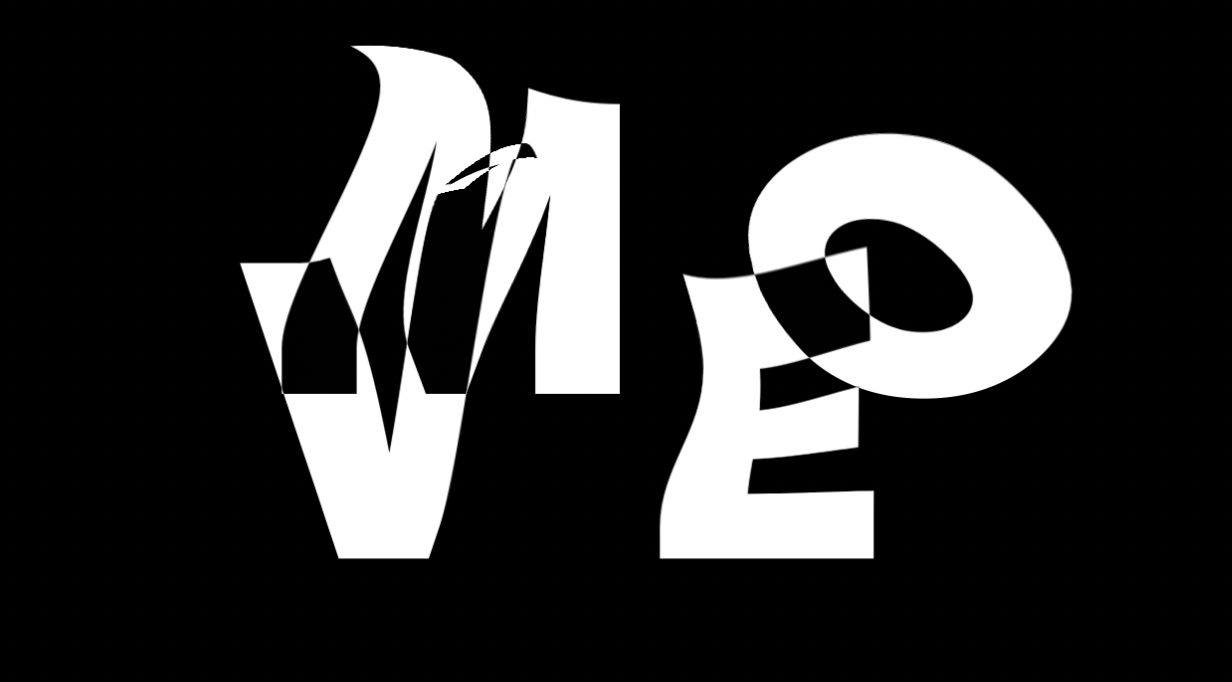
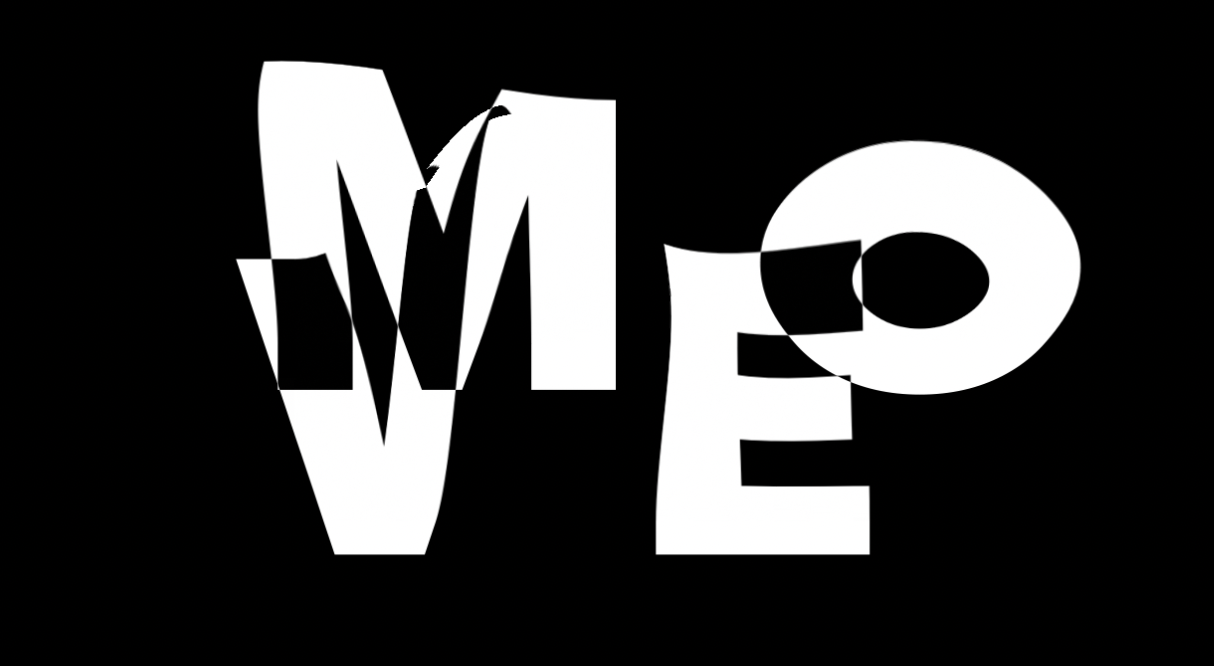
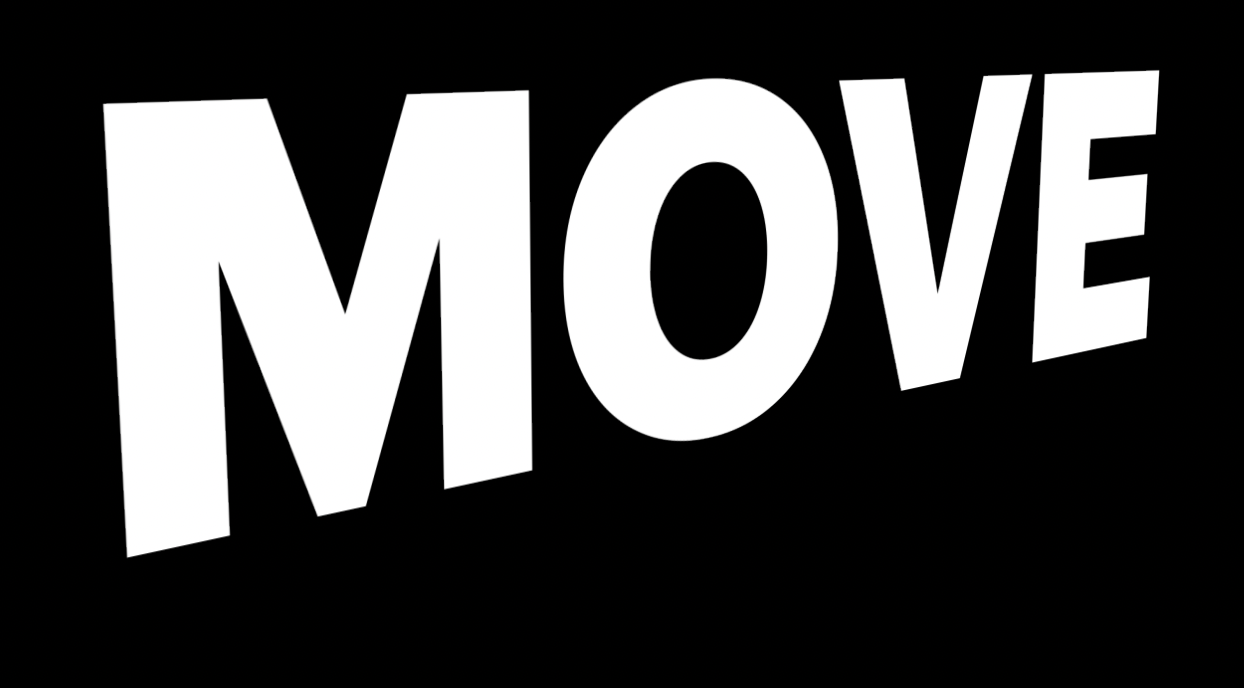
I knew I wanted to emphasize the word MOVE both times it appeared, possibly by giving it its own slide or moment, but I wasn’t exactly sure how yet.
I could have gone straight into After Effects at this point, but honestly, I could barely understand the demo we did in class. I also saw Caley’s point about working in a more familiar space like Illustrator for concepting rather than jumping straight into After Effects.
Using Illustrator helped me refine the concept and really figure out which graphics I wanted to use, keeping the illustrations simple so they emphasized the text without overpowering it.

After Effects
I had no experience with Adobe After Effects going into this project. Although I’ve been saying since starting grad school that I want to use new software, I hadn’t really attempted it yet. I’ve mostly been focused on gaining more hands-on techniques, but I was up for the challenge.
I started with a “warm-up” tutorial mentioned in the module, and it was honestly hilarious how bad I was at it. I definitely cursed at my laptop for a bit, then took a deep breath and asked myself: what’s the simplest way to get started?
That led me to lyric-video tutorials, mostly made for musicians trying to get their music on YouTube, and that actually worked pretty well. I struggled a lot with understanding the Keyframes, but once that editing clicked into placeI felt much more confident.
At first, I brought my Illustrator files into After Effects and converted them to shapes, but I quickly learned I could do much more with text if I created it directly in After Effects instead.
I followed tutorials for the first few slides and then cut everything together in one sitting without adding anything impressive. At that point, it basically looked like a nicely animated PowerPoint presentation.
I ended up going to a friend’s birthday dinner the next night and talked with Amy (who works with kinetic type for social media clients). She taught herself After Effects and recommended a few specific tutorials that were really helpful.
The next day (Sunday), I watched those tutorials and finally understood how the Keyframes work, why Easy Ease matters, and how pacing affects readability. Using those tools helped the text land more naturally as Tony was speaking.
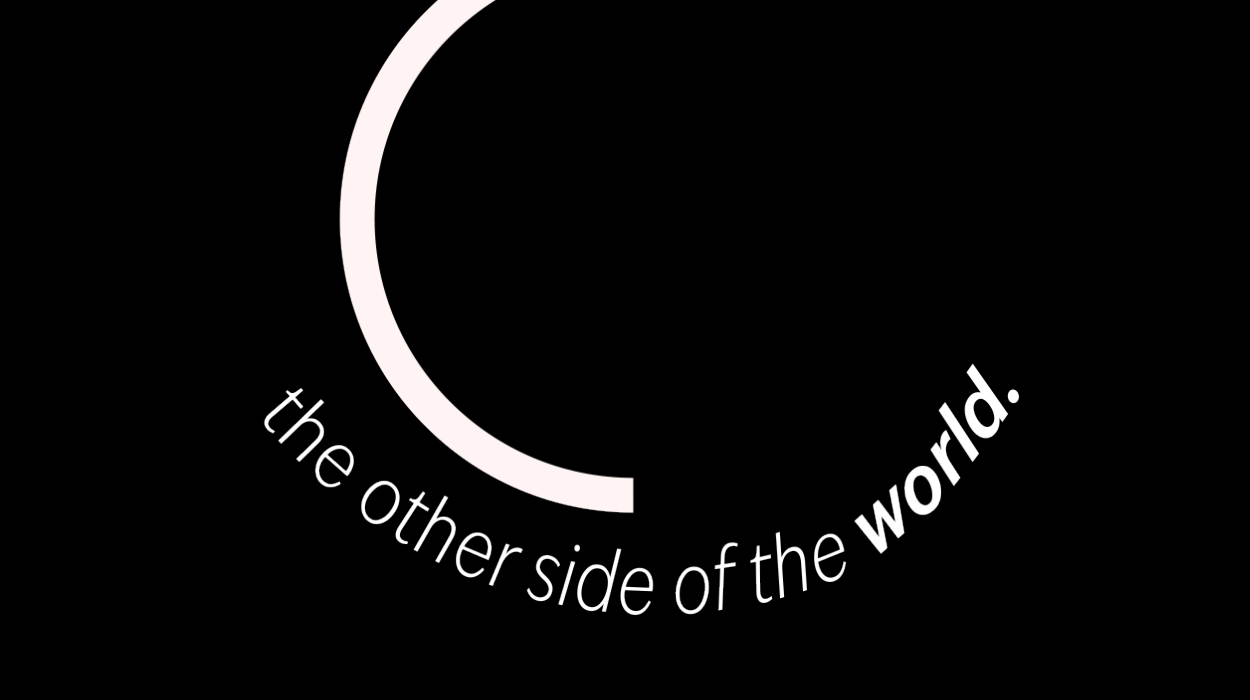
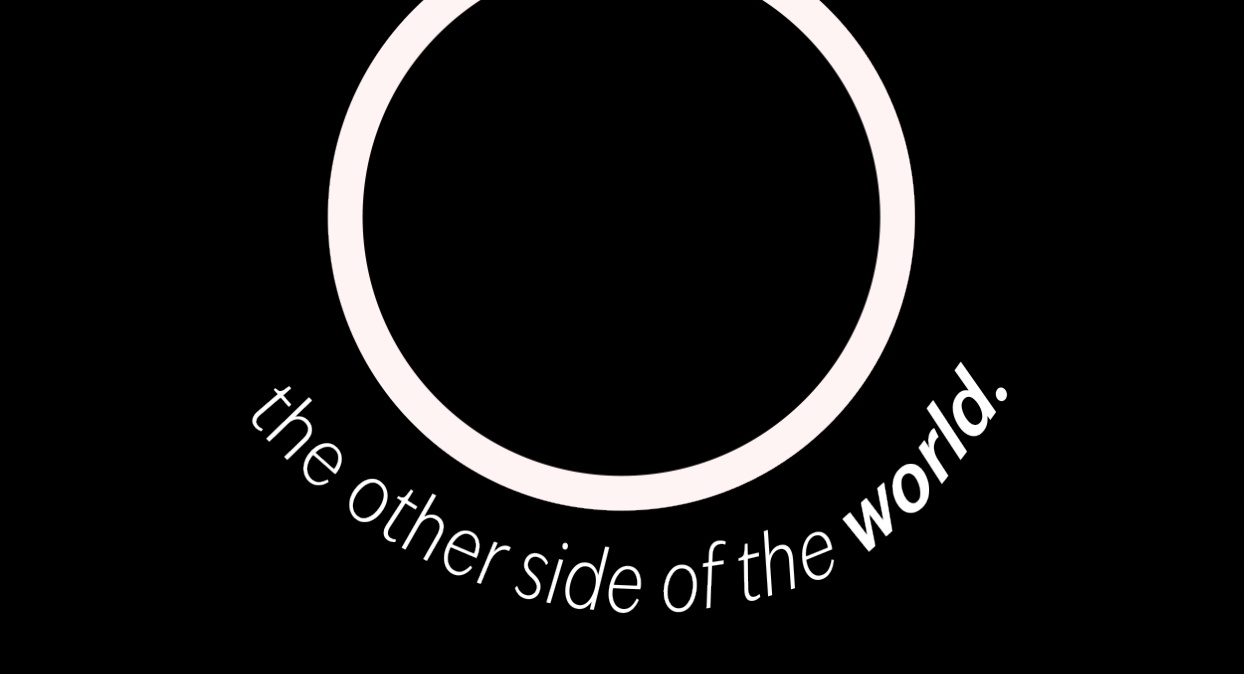
I also experimented with a few other effects, like a circular motion element.
Showing Progress
It seems small, but it was really encouraging when something finally worked the way I intended. I added some illustrations from my storyboard, and for the closing sequence, I tried the warm-up tutorial again. It took a few more tries but this time, I got it.
Here’s a couple of the most helpful shortcuts I wrote down:
For clipping:
Option + [ → trim the start of the selected layer to the current playhead
Option + ] → trim the end of the selected layer to the current playhead
For animating:
Short cut keys:
P = Position
S = Scale
R = Rotation
T = Opacity
A = Anchor Point
Example of how to use them: Select text layer → press P → click stopwatch → adjust position.
Feedback
After the first informal critique on 2/2/26, I received really helpful feedback on my 50-second kinetic-type animation. Most comments focused on adding more movement. The piece was edited together, but it still felt pretty static.
It was suggested that I add movement to the illustrations and emphasize certain moments more intentionally. I asked about adding color, but most of my peers liked keeping it black and white especially since there’s a lot of text to process in a short time.
Seeing everyone else’s work also helped me think about movement in new ways, like shifting camera angles or playing with speed. It was also helpful to share tutorials and tips with each other.
Conclusion
After getting feedback from my peers and professor, I brought back many of the icon graphics I had originally planned in my storyboard and added movement to them in different ways. I also experimented with camera angles, which you can see with the word “Move” the first time it appears.
I tried using camera movement in a few other places, but it started to affect readability. I’m sure there’s a more subtle way to do this, but for now I decided to pull it back, since it wasn’t adding what I wanted.
I have so much more respect now for credit sequences and even small forms of kinetic type. I’m sure it gets easier the more you use it. I don’t know that I loved every part of the process, but I did enjoy the editing aspects once I understood how keyframes and movement work together.
I’m really glad I did this project. I can see myself applying this kind of motion to other work in smaller 5–10 second ways. I also like knowing enough now to understand what people mean when they talk about After Effects.
Here’s my final version…for now..